As a podcaster, you devote a ton of time creating audio gold for your show. You spend hours in front of the microphone and cutting through recordings to make sure episode after episode provides valuable content to your listeners…
Every. Single. Week.
And I’m sure you want more listeners to find your podcast and hit play. But how are you supposed to share all of those awesome episodes to expand your reach? And how do you come up with new ways to share them?
That’s where repurposed content comes in.
You take your 1 podcast episode and make several pieces of shareable content out of it. These become your marketing assets and ammo to share your content in unique ways that make your podcast stand out.
(RELATED: How to Launch a Podcast, Drive it to the Top of the Charts, AND Keep it There in Just 4 Steps)
Sharing 1 episode multiple ways is crucial. In an experiment by HubSpot, they tested sharing 1 piece of content 50 different ways, leading to a 150% increase in views.
Repurposing also allows you to diversify the way you visually share your podcast episode, expand your reach, and target different goals with each asset.
Nearly 60% of marketers reuse content 2–5 times. The reason it isn’t more is because of lack of time. And I get it. That’s why I’m going to show you how to create easy-to-edit templates that let you repurpose just ONE podcast episode into 11 different pieces of content in less than 3 hours. Let’s dive in.
1 Podcast Episode, 11 Unique Pieces of Content
Before I teach you how, let’s first outline the what. Below are the 11 pieces you will learn how to make:
- 2 different square audiograms
- 3 image quotes
- 2 Instagram story/IGTV audiograms
- 2 widescreen audiograms for YouTube
- 1 optimized YouTube thumbnail
- 1 optimized Facebook thumbnail
That’s 11 different assets, and over 37 different ways to post these 11 content pieces… but that’s another blog article all on its own.  So keep in mind, you’re about to create a TON of ammo for your social media blast.
(RELATED: The Perpetual Content Calendar: A 3-Step Framework to Generate Content with a Lean Team)
The Power of the Template
Templates are the secret sauce here. This sets the base of your asset designs and allows you to create really awesome looking “skins” that you’ll then customize for every episode.
Templates are the secret sauce here.
It takes a little bit of time up front, but then when you want to make this content for a new episode, all you have to do is change a few images and lines of text. But once you finish this one-time prep work, you’ll be able to create so many unique content pieces in just 3 hours for each episode.
The first step in creating the templates is deciding on your design tool. I personally love Adobe Photoshop, but other free tools like Canva are also a good solution. You want to find something that allows you to create designs that are saved and can be edited later (Photoshop and Canva both allow you to do this).
Here are some examples:
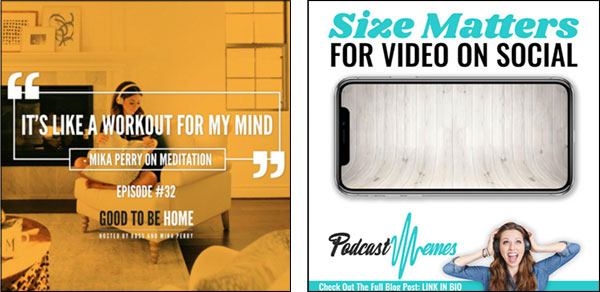
Now let’s create the templates:
- 2 Square Audiogram Templates: An audiogram is a static image that’s converted into a video by placing audio and a waveform over it. They’re awesome. Your template here is mainly the static image (we’ll teach you how to add on the audio and waveform using another tool later in this article).
Audiograms work best when they include bold text that prompts a question or speaks to what the clip will be about, like “Are you doing this 1 thing that crushes productivity?”
Create 2 different versions that you can reuse. Make sure they have enough differences (but are still brand consistent) that you can switch it up from one episode to another.
Here’s an example of an audiogram template…
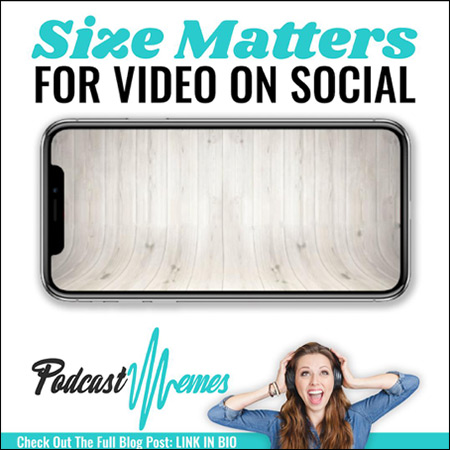
And here is what the audiogram will look like when it is finished…
- 3 Image Quote Templates: Image quotes are a great way to highlight something you or your guest say during the episode.
Images with people in them can have up to a 95% increase in conversions alone.
Create 3 different templates here. We suggest 1 template that has the host’s picture on it, 1 template that will have the guest’s picture on it (this will change with each guest), and 1 template that has a scenic/cool background without a person on it.
Why include people in 2 of the 3 images? Neil Patel, a New York Times best-selling author and Forbes as one of the top 10 marketers, reported that images with people in them can have up to a 95% increase in conversions alone.
For the third image, then, use a setting, background, or another associated backdrop that showcases the episode’s story from a different angle. Here are a few examples:
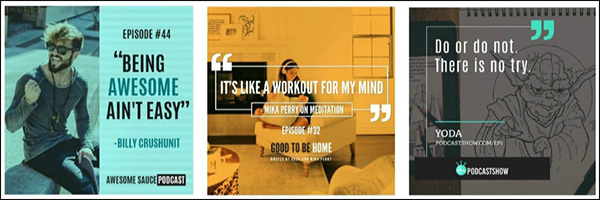
- 2 Instagram Story/IGTV Audiogram Templates: Your template here, much like the audiograms, is mainly the static image that you’ll later place audio over (we will get to that in step 2.
Make sure your template is in the correct Instagram Story/IGTV size:1080px by 1920px. Yes, this size applies both for your Instagram Story and what you post on IGTV!
Create 2 different templates here so you can alternate between the designs as needed. Here’s an example of an Instagram Story template…
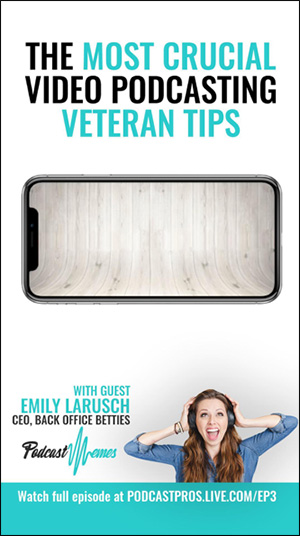
And the Instagram Story finished:
- 2 Widescreen Audiogram Templates: These will be used to upload to YouTube—again, we’ll teach you how to make the widescreen audiogram later, but for now you’ll want to create the “skin.”
You’ll have awesome snippets of your episode that you’ll want to highlight. One of those clips will be turned into an audiogram specifically for YouTube. So, to create the “skin,” you’ll need 2 different static image templates with this sizing: 1920px by 1080px.
Below is an example of a widescreen template…
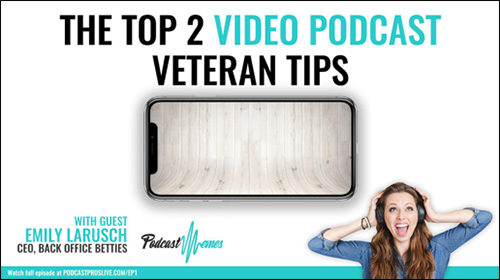
…and finished widescreen audiogram:
- 1 Optimized YouTube Thumbnail Template: As we’ll teach you how and why to upload your episode content to YouTube, you’ll also need a snazzy YouTube thumbnail template! Keep in mind, this is different from the audiogram template above.
In addition to sharing highlighted clips of your episode, you’ll also want to upload your full episode to YouTube. So, create templated thumbnails for your podcast’s YouTube videos, that way you maintain brand consistency.
It should be clear what the episode’s title or who the guest is so people know what they’re about to listen to before clicking on the specific video. Make sure you follow the correct sizing here: 1280px by 720px.
Below are some examples:
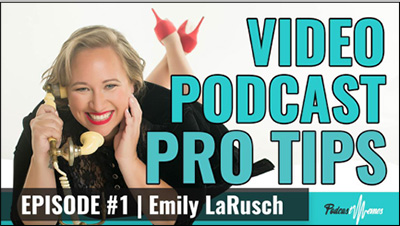
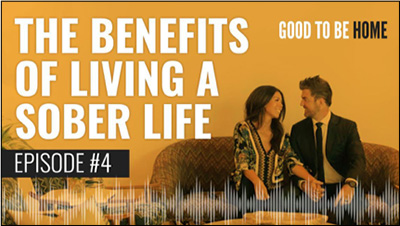
- 1 Optimized Facebook Thumbnail Template: We’ll explain how this will be used later, but for now you’ll hop into Photoshop (or Canva) and create a square Facebook thumbnail.
Make sure when you create it that it passes Facebook’s text test (making sure it doesn’t have too much text on it) here. You only need 1 template here. Below are a couple of examples:
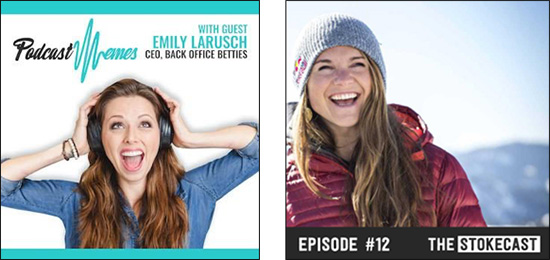
Once your templates are done… the real fun begins. Let’s start the clock!
(NOTE: Have you audited your social media lately? Use this simple, 10-minute audit to grade your social efforts and identify opportunities to get more followers, increase engagement, and drive more traffic. Get your FREE download here.)
[0.5 Hours] Choose a Few Highlights from Your Episode
These highlights are what you’ll turn into marketing assets for your episode: the 11 pieces of content.
Go through your episode and choose the following:
- Two 1-minute audio clips (We’ll teach you how to cut this audio later)
- 3 quotes
If you aren’t sure what audio clips to grab, here are a few best practices:
- It’s best not to go over 1 minute if you intend to share these clips on Instagram at any point. If you have a section that you really don’t want to cut down, choose 1 clip that’s under a minute and 1 clips that’s as long as it needs to be. But make sure you have something you can post on your Instagram feed (under 60 seconds)
- Choose clips that evoke emotion, are controversial, or evoke open-ended curiosity. This clip needs to encourage someone to listen to the full episode. They should feel hooked
- The clips should still be a full thought or sentence. If they’re cut off or the message isn’t complete, it will come across as messy
- If you have a podcast that interviews other guests, it’s always great to capture a minute of their audio in at least 1 of the 2 clips—the guest be more inclined to share it on their own social media pages
And for quotes, keep this in mind:
- The shorter, the better. If you have a lengthy quote, you’ll notice the design element becomes trickier. And people tend to skim, so keep it brief
- If your episode brings up any unique or surprising statistics, these work great as quotes
- Choose something that both your guest and audience would be proud to share with their own network
- Much like with the clip, if you quote your guest, they’ll be more inclined to broadcast it
Once you have those pieces, let’s move on.
[2 Hours] Turn Those 2 1-Minute Clips into 6 Audiograms
If you haven’t heard of Headliner, it’s awesome. This is the free tool you’ll use to create audiograms from the .mp3 clips of your episode. But before you dive in, note that you have 2 options for cutting your audio.
You can either cut it in Headliner (meaning you’d upload your entire episode’s audio and edit it within the tool), or you can cut it before you upload to Headliner. We do the second. When it comes to cutting audio, you can use tools like Audacity (free and easy!), Pro Tools, or Adobe Audition. If you don’t want to deal with that, cut your audio seamlessly in Headliner.
To break things down, you’ll be making 4 audiograms in this 1.5 hours:
- 2 square audiograms (one per clip)—for Facebook and Instagram feed
- 2 vertical audiograms (one per clip)—for Instagram Story and IGTV
- 2 widescreen audiograms (one per clip)—for YouTube
STEP 1: Create a free account here
STEP 2: Watch this video and follow the steps to upload your episode’s audio into an audiogram:
STEP 3: Once of the biggest steps after you click “Create Your Project” is placing your transcriptions on the audiogram. Headliner will auto generate its own transcriptions, but you want to double check that they’re correct and timed well with your audiogram.
And don’t skip putting transcriptions on your audiogram. Recent studies by PLYmedia have found that 80% more people were likely to watch a video all the way through if it contains captions.
Without them, people may not realize your audiogram is designed to be played as an audio clip, since as much as 85% of video viewing happens with the sound off.
Adjust, refine, and customize your subtitles on the audiogram. Here’s your video on how it’s done:
STEP 4: Then export your beauty! There’s your first square audiogram.
Here are a few more examples of finished audiograms for inspiration:
Example 1:
Example 2:
Now you may be thinking… that’s ONLY 1 of 6 that I’m supposed to make in less than two hours?! Bear with me. It gets real simple, real quick.
STEP 5: Once you’re done, Headliner allows you to auto resize your audiogram to other sizes fit for different social platforms. So, remember those other skins you created to fit Instagram Stories and YouTube? YES. Once you have those designs, you can create that clip’s vertical audiogram for Instagram Stories with the click of a button—literally:
STEP 6: Then export it, and you have your second beauty! Here’s an example of a finished vertical audiogram:
STEP 7: Now do the same thing for the widescreen audiogram, what you’ll use for YouTube. Except here, remove the transcriptions. You don’t want them on your widescreen audiogram, because you’ll upload the transcriptions separately to YouTube to make your clip searchable. I’ll get to that in the Bonus section below.
Here are a few more finished examples:
STEP 8: You have 3 audiograms for 1 clip, and you’ve been through the Headliner process. Now go back to where you started at the “Audiogram Wizard” and upload your second clip to create 3 more audiograms (square, vertical, widescreen).
(RELATED: How to Create a Podcast Studio on a Shoestring Budget)
Quick Bonus
Now that you have your widescreen audiogram, you want to upload it to YouTube with your transcriptions separate. This makes every single word in your clip searchable. Here’s why uploading it (and even uploading just your audio-only podcast) to YouTube is so important:
- Google owns YouTube. This is SEO gold. Again, this makes your clips and episodes searchable based on keywords or tags used.
- 400 hours of video are uploaded to YouTube every minute. Time to get on board.
- The number of channels earning 6 figures each year on YouTube has increased by 50% year-over-year. More content on YouTube = more opportunity to monetize your show.
Now here’s how to upload your audiogram and transcription file separately:
Finally, be sure you add your customized thumbnail, which we’ll teach you how to create NOW:
[0.25 HORUS] 2 Optimized Thumbnails (1 for Facebook and 1 for YouTube)
You already have your templates created, which is the hardest part. Now, customize 1 thumbnail in Canva or photoshop for your episode for YouTube. Based on how you build your template, that may mean changing the episode title, guest name, episode number, and/or image.
Here are some more examples of customized YouTube thumbnails:
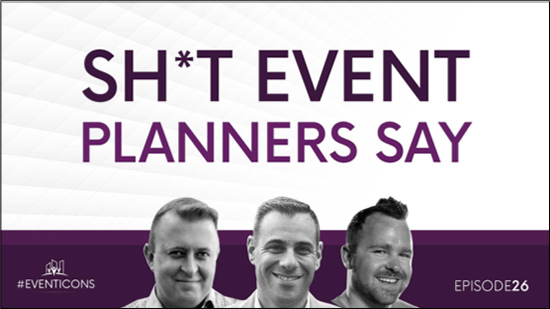
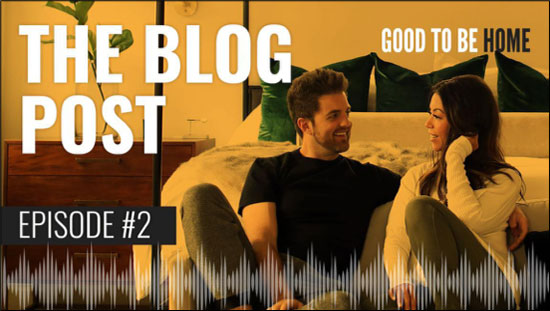
Again, the importance of adding not only your widescreen audiogram but also your ENTIRE episode with this thumbnail on YouTube is paramount to searchability.
Remember when we talked about every word in the transcription being searchable? A minute is about 150 spoken words. Imagine 150 x the length of every podcast episode in searchable gold! If your podcast doesn’t have a YouTube channel you are absolutely missing the boat on significant traffic.
Now let’s move on to your Facebook thumbnail.
You already have this template created. So, it’s time to customize. As mentioned earlier, be sure you don’t put too much text on your thumbnail. Here is where you can run it through Facebook’s checker again.
You may be wondering… why the heck do I need an optimized Facebook thumbnail?
Audiograms generated 4X the results and traffic.
You have some awesome audiograms, and now you want to push some marketing spend behind them. If you’ve done this, you know Facebook is quick to nix the campaign because there tends to be too much text on the audiograms.
But! Don’t. Adjust. Your. Audiogram.
Instead, create an optimized Facebook thumbnail to ensure your paid ads run smoothly
And why, may you ask, is it so important to share your audiograms—not just image quotes—on Facebook?
Headliner did a study where they shared a podcast episode on Facebook 2 different ways. This was with a static image versus an audiogram, and the audiogram generated 4X the results and traffic. The static image generated 118 clicks and the audiogram generated 468. That’s a pretty significant difference.
Here’s another example of a customized Facebook thumbnail:

It shouldn’t take more than 15 minutes to create both of these thumbnails in total. All you’ll swap out is an image and text. Even though you’ll be able to make these in 10 minutes, we added another 5 in case there’s too much text on the first Facebook thumbnail version.
[0.25 HORUS] 3 Images Quotes
Again, the power of the templates is HUGE here. We’re allotting for 5 minutes per image quote here. You already have your 3 templates. Now you simply place in your quote, guest image—or other images if applicable—text, and download.
Simple as that!
Here are a few more image quote examples for inspiration:
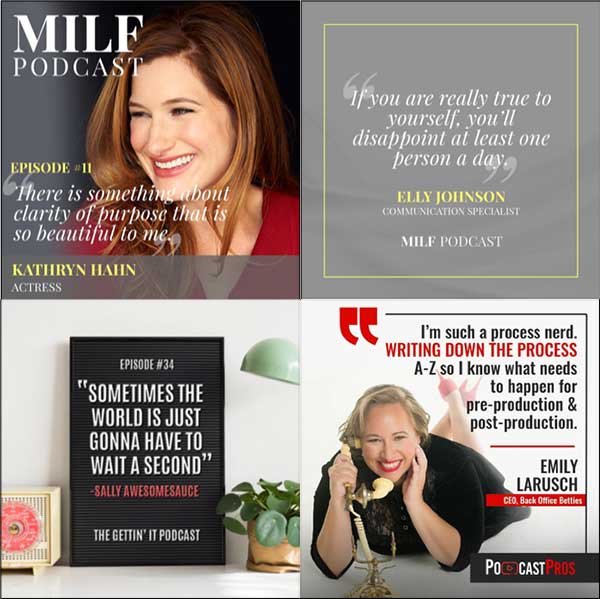
Keep in mind, the goal is to make the quotes from the same episode all look like very different pieces of content, so your viewers constantly think you’re sharing new material, and that it resonates with viewers in different ways.
And there you have it! Eleven unique content pieces for 1 podcast episode in just 3 hours. WHEW!
Now you can share your pieces of content and spread the word about your awesome episodes. Happy podcasting!
(NOTE: Have you audited your social media lately? Use this simple, 10-minute audit to grade your social efforts and identify opportunities to get more followers, increase engagement, and drive more traffic. Get your FREE download here.)
The post How to Repurpose 1 Podcast Episode into 11 Different Pieces of Content in Just 3 Hours appeared first on DigitalMarketer.
from How to Repurpose 1 Podcast Episode into 11 Different Pieces of Content in Just 3 Hours
No comments:
Post a Comment